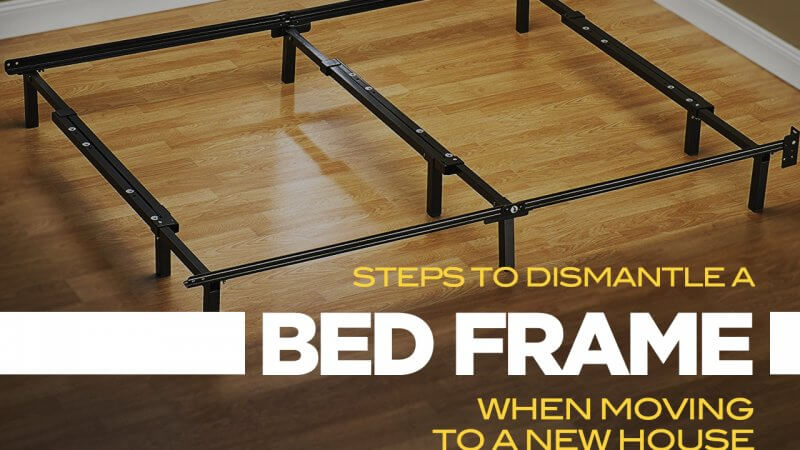
There are things in life you do over and over. These things are super easy to remember because of the repetitiveness. Then, there are things like dismantling a bed frame that are done maybe once or twice in a lifetime. It is not so easy to remember the steps. To reduce the possibly of a headache with taking down and putting back up your bed, keep these tips from Charlotte furniture moving services in mind.
Step One: The Finished Product
Take a picture of your bed fully assembled so you will have a reference point for reassembly. When you go to reassemble, you probably already be tired after a long day’s move, so your mind may not be clear. Your brain will likely be too tired to try to figure things out from scratch. So, take a picture.
Step Two: Remove the Mattress and Box Springs
Take a picture of the bed minus the mattress and box springs. It will show the assembly of the different parts to the headboard and footboard. This picture doesn’t mean too much now, but you will appreciate this picture at the end of the day.
Step Three: Remove the Supports
At this point some beds have cross supports that need to be removed. If they are screwed in, put all the little screws in a baggie together. Label the baggie ‘bed parts’ so that you will remember what they belong to. If you have more than one bed, consider other label options to clarify which bed they belong to. For example:
- Twin Bed Parts
- Daughter’s Bed Parts
- Master Bed Parts
- Guest Bed Parts
Step Four: Remove the Footboard
Typically the footboard is screwed to the railings. Some beds have large metal hooks instead. Separate the footboard from the railings and set it aside. Add the screws and any little parts to the baggie.
Step Five: Remove the Railings
Continue to take pictures throughout this entire process. Remove the railings from the headboard and set them aside. Again, add the little parts to your baggie.
Step Six: Attach the Baggie
Now you have a mattress, box springs, footboard, about 5 slats, 2 railings, a headboard, and a baggie of parts. Attach the baggie to the back of the headboard using movers’ wrap. Then, they will be where you need them after the move. You will not have to send out a search party for parts to assemble your bed.
Step Seven: Reverse the Process
Once you reach your new home. Take this list and reverse the entire process for success. You will appreciate all the pictures you took while disassembling your bed. You will also appreciate all the parts being together in one place.
With these steps you can take a stressful process of reassembling you bed and turn it into a simple task. Now you can avoid sleeping on an uncomfortable pallet. It just takes a little preplanning to get the job done right. You can have your first night’s sleep in your new home in your bed. This is a good thing, because you will be tired after your relocation!


